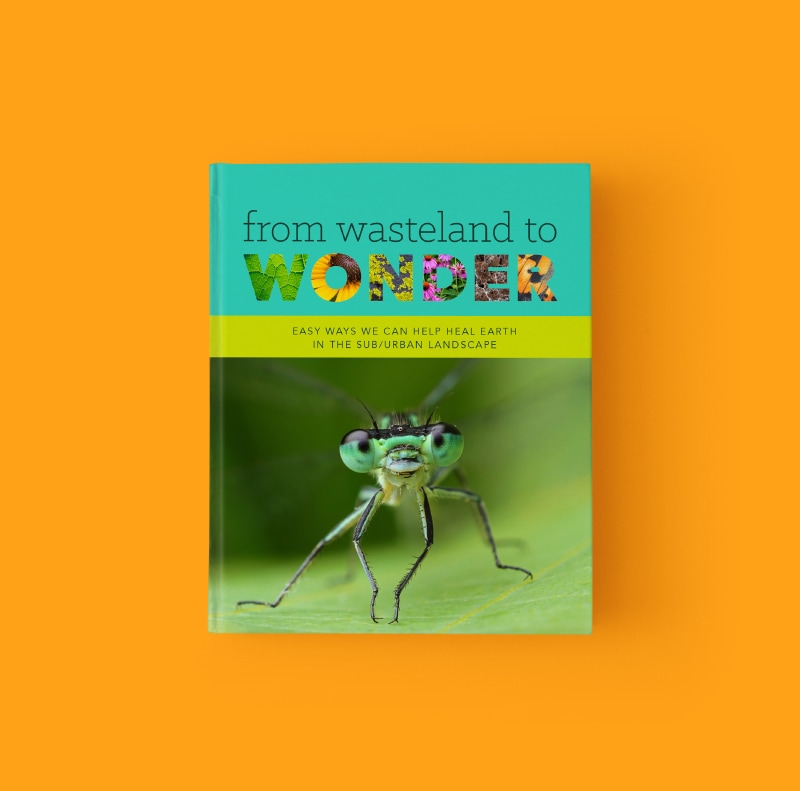
From Wasteland to Wonder — a Book by Basil Camu
The following is an excerpt from our book From Wasteland to Wonder — Easy Ways we can Help Health Earth in the Sub/Urban Landscape, 2nd edition, which is available for free.
Get Our Book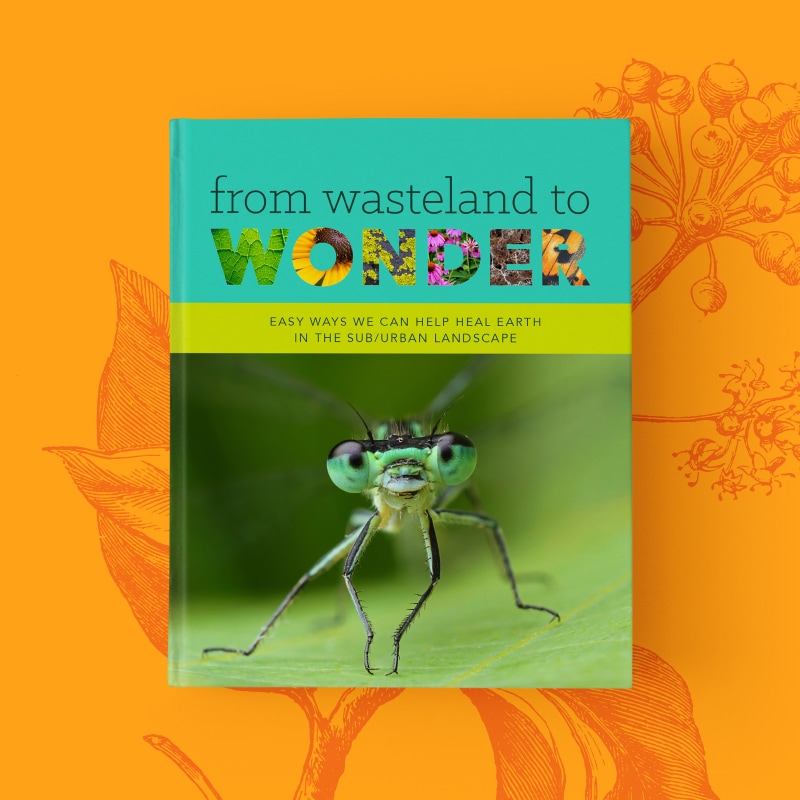
Chapter 14: Promote Soil Bursting with Life
Recall that to achieve maximum longevity for trees in the sub/urban landscape, the two most important things we must do are maximize their strength and health. Aside from avoiding harm, like construction in the CRZ, the best ways to do this are pruning to create ideal structure and improving the health of the soil in which they grow.
Unfortunately most of the sub/urban landscape consists of dirt, not soil. This is a result of hundreds of years of agricultural practices followed by recent land clearing to build neighborhoods, office parks, and shopping centers. Recall from Chapter 1 that dirt is sand, silt, and clay, while soil is dirt plus a living underground ecosystem. When trees are growing in dirt instead of soil, they are often sickly and die prematurely.
We can transform dirt back to soil with three basic approaches: First, plant many native trees, flowers, and grasses. Second, retain and add lots of organic matter. Third, avoid harmful products that kill life, such as pesticides and fertilizers. The second and third approaches are the focus of this chapter. This video helps set the stage for what comes next:
Leave the Leaves
Imagine we are standing in the middle of an old forest. What do we feel under our feet? Leaves of course! The forest floor is covered in layers of decaying leaves that give way to dark, loamy soil. Rotting leaves form the very foundation of a healthy forest by providing organic matter for the living underground ecosystem. Recall that organic matter is the dead remains of anything that was once living. It is food for many species within the soil and helps enhance soil structure by acting as spacers between particles of dirt. The takeaway? We should leave all leaves under our trees and shrubs to rot.
Consider this: before leaves drop, around half of the nutrients within the leaves are sucked back into the trunk and roots for safekeeping during the dormant season. The rest of the nutrients remain in the leaf. In 10 pounds of leaves, we could expect to find roughly 5 pounds of carbon, 0.1 pounds of nitrogen, 0.01 pounds of phosphorus, 0.04 pounds of potassium, 0.17 pounds of calcium, 0.02 pounds of magnesium, 0.01 pounds of sulfur, and iron, zinc, and much more. That is a lot of nutrients! Leaves are literal fertilizers.
There is another layer worth considering. Leaf litter is a diverse ecosystem all its own, which further boosts the diversity on our property. Thousands of different species of insects rely on leaves for food, reproduction, cover to hide from predators, and warmth during the dormant season. These in turn provide food for birds, raccoons, and other larger species. Consider three examples:
- Luna moths, swallowtail butterflies, and many other species rely on leaf litter to camouflage and protect their cocoons.
- Bumblebee queens need leaf litter to protect their shallow burrows within the soil.
- Many species of beetles use fallen leaves to hide from hungry birds.
Some folks have concerns about leaving the leaves. Here are ones I hear most often (plus solutions):
- “I want to keep the leaves, but not on my lawn.” Totally fine! Leaving the leaves does not mean we have to literally leave them where they land. Rather, it means we leave them on site and do not dispose of them nor burn them. In this scenario, we can move them into a natural area or beds under our trees and shrubs. If this is not possible, we can stage them in piles out of sight.
- “I want the leaves, but they blow around and make a mess.” First, is it possible to rethink our definition of a mess? Perhaps it might be worth shifting to a new standard of beauty, one that helps other life? If not, then we could consider shredding the leaves with a lawnmower or leaf shredder. Shredded leaves generally blow around less. But it’s very important to note that this shredding action will kill many of the insects in the leaf litter.
- “I want to keep the leaves but I like the aesthetics of my designer mulch.” If aesthetics are a priority we can place the leaves under these top layers of mulch, or stage all the leaves somewhere else on our property or in the community. Then let them rot to create leaf mold and leaf compost (more on this soon).
- “My HOA will not allow me to keep the leaves.” In this instance, we must educate the HOA and spread the word to others in the community. We can entice them with the idea of saving money and reducing effort while helping heal Earth.
- “Snakes will hide in the leaves and bite me!” Snakes are very rare within the sub/urban landscape. Most cause no harm. This deserves a deeper discussion—please see the sidebar for more information on this topic.
When we get rid of our leaves each year by burning them, bagging them, or blowing them offsite, we generate the following additional negative outcomes:
- Burning them releases CO2 into the atmosphere.
- Bagging leaves and sending them to the landfill generates methane, which causes even more change in the atmosphere than CO2 does.
- Gas-powered blowers generate toxic pollution, CO2 emissions, and irritating noise for people nearby.
- If our municipality or a service provider removes the leaves for us, there are added CO2 emissions and pollution from equipment being driven to and from our site.
Leaving the leaves saves us time, reduces harm, and is a powerful way to increase the outrageous diversity of the living underground ecosystem. Before we discuss arborist wood chips, here is a fun video summarizing much of what we have learned about leaving the leaves:
Create Beds of Arborist Wood Chips Around Trees & Shrubs
Arborist wood chips are one of my favorite products for increasing the health of soil. Let’s imagine once more that we are standing in an old forest. What else is on the ground besides leaves? All sorts of twigs, branches, and fallen trees that provide even more organic matter for the living underground ecosystem. Arborist wood chips fill this role in the sub/urban landscape.
Arborist wood chips are generated when a tree service removes a tree or prunes limbs and shreds the material in a machine called a wood chipper. This results in nutrient-rich arborist wood chips. Most tree services give these away for free because the alternative is to pay to dump them at a landfill or wood waste processing center. The best wood chips are those that have more chipped branches than trunk wood, since roughly 75% of nutrients, aminos, and enzymes in a tree are contained within the leaves, needles, twigs, and small branches. But no need to be picky—all arborist wood chips are great!
Creating beds is easy. We can spread arborist wood chips around our trees to a depth of 3–6 inches. Ideally we extend the beds to the edge of the canopy. But the distance does not matter; something is better than nothing. We must avoid placing wood chips on the root collar because doing so will harm the health of the trees and possibly kill it. When we pile arborist wood chips (or mulch or dirt of any kind) on the base of a tree, we form what is known as a mulch volcano. This is one of the worst landscape practices to emerge in recent decades, at least as far as trees are concerned. If you have any trees with mulch volcanoes, remove the mulch and uncover the root collar right away (or hire a professional to do so). Mulch volcanoes kill trees. Here is a detailed video to learn more:
When installing these beds, avoid using landscape cloth and landscape fabric for weed suppression. These products are usually made of plastic and limit both water and gas exchange within the soil. They typically cause tremendous harm to trees and to life in the soil ecosystem.
A better option for weed suppression is cardboard because it rots over time. We can lay down 1–2 layers of cardboard and place the arborist wood chips on top. If weeds become an issue again in the future, we can add new layers of cardboard and new layers of arborist wood chips. Another option for controlling weeds is to use other plants to outcompete them. We can preemptively fill any vacant growing spaces with plants that we find to be more desirable.
Beds of arborist wood chips around our trees and shrubs have some other benefits as well:
- They make it easy to leave the leaves under our trees.
- They keep trees safe from string trimmers and lawnmowers by creating a gap between the trunk and the lawn. Repeated trunk damage harms and kills trees and shrubs.
- They help retain more moisture within the soil by keeping it from evaporating.
- They help regulate soil temperature. This is especially important in the growing season when wood chips can physically protect the soil from being damaged by the sun’s rays.
One last tidbit on this topic of arborist wood chips, because it is a concern I hear frequently: arborist wood chips do not suck nitrogen from the soil or spread disease. Quite the opposite. They make more nitrogen available and reduce the spread of disease by bolstering plant health.
Skip Fertilizers Because They Kill Soil
For the sake of clarifying language, I’m going to call anything we purchase from a hardware store, gardening store, farm supply store, or lawn/tree service provider a fertilizer. The only exceptions to this are compost, compost tea, and a small handful of other products that specifically focus on feeding life within the soil without the use of any nitrogen, phosphorus, and potassium (these three are known as NPK).
Fertilizers in the sub/urban landscape are a destructive (and expensive) scam, plain and simple. Plants have been thriving for hundreds of millions of years, thanks to the living underground ecosystem we call soil. Soil is full of the nutrients that plants need. We don’t have to introduce nitrogen, phosphorus, potassium, boron, or magnesium—these and other nutrients are often naturally available from sand, silt, and clay. All we need to do is to ensure that the soil in which our plants are growing has an outrageous diversity of life. They will provide our trees and shrubs with all the nutrients they need.
Fertilizers ignore these basic concepts and create harm in multiple ways. Here are some examples:
- Phosphorus and nitrogen are two of the most common ingredients in fertilizers. Adding them to the soil damages the essential relationship between a plant and its mycorrhizal fungi (see the sidebar for more information about these incredible fungi). Without that relationship, the plant is vulnerable to a decline in health and death during droughts and other hard times.
- Most nitrogen never makes it into plants and instead leaches into waterways and evaporates into the atmosphere. As we learned in Chapter 5, this destroys aquatic ecosystems, creates dead zones that kill aquatic life, damages the ozone layer, and generates smog.
- We use a tremendous amount of energy to produce fertilizers. Making nitrogen fertilizer requires approximately 2% of global energy and produces 5% of global annual greenhouse gas emissions.
- Creating phosphorus fertilizer generates radioactive waste called phosphogypsum. For every ton of phosphorus fertilizer we produce, we create 5.2 tons of radioactive waste.
I’m only scratching the surface on the many serious issues created by fertilizers. The good news is that we do not need them in the sub/urban landscape. We have amazing alternatives that are easy to make and cause none of these issues. These alternatives are compost and compost tea.
Use Compost & Compost Tea
We know from Section 1 that when things rot they provide food (organic matter) for life in soil. Feeding life within the soil produces a healthier ecosystem that benefits all its members, including the plants growing there. We can tap into this natural cycle by using existing waste streams to produce incredible products that have many of the benefits that fertilizers promise (but do not deliver) with none of their negative outcomes. These products are compost and compost tea. Compost is basic: it’s organic matter, i.e., the decayed remains of things that were once living, like leaves, grass, and food scraps. Compost tea is compost in water, which generates a liquid solution that is easier to apply.
We can buy compost or make it. If we choose to buy it, look for products with natural, recognizable ingredients. For example, earlier in my career I used a product called Black Kow made purely of cow manure. Other common compost ingredients include other types of manure, blood meal, mushrooms, worm castings, food scraps, grass clippings, seaweed, fish, leaves, and other things that rot. Bonus points if the compost is produced locally from an existing waste stream. Avoid anything with added nitrogen, lime, and other industrially-produced fertilizers. In addition, avoid nonrenewable resources and especially those for which extraction harms Earth. Peat moss is a great example. It comes from bogs, moors, and other wetland ecosystems that must be drained, smashed, and heavily degraded to harvest peat moss. These are fragile ecosystems that hold a tremendous amount of stable carbon—an estimated 30% of Earth’s soil carbon! We should avoid using peat moss.
This said, I much prefer making my own compost because it is so simple. Here are easy ways to do so:
How to Make Leaf Mold & Leaf Compost
Rake leaves into a pile or ask a landscaping company to dump a load of leaves. Let them sit for six to 12 months. Congratulations! We now have leaf mold, which is partially rotted leaves.
Let the leaves sit for another one to two years. Congratulations! We now have leaf compost, which are fully rotted leaves. Leaf compost looks like black soil.
Yeah, it’s that easy. Leaf mold and leaf compost are pure gold when it comes to increasing the diversity of the soil ecosystem. And why not? This is basically what happens on the forest floor.
At Leaf & Limb, we have examined these products under a microscope to verify that they are, in fact, teaming with beneficial life. The results are incredible and confirm that these are indeed remarkable products.
How to Make Compost from Food, Grass Clippings, and Leaves
I will begin with a video showing what this compost setup looks like:
Before we get started, here are the tools and supplies we will need:
- Two or four pallets. We can usually get these for free from a furniture store, big box hardware store, or any other place that generates a lot of pallets.
- Brackets with screws for attaching the pallets to one another. I recommend corner brackets or straight brackets, but the options for what we can choose are endless, so long as they can hold pallets together.
- Screwdriver or power drill with bits for screwing the brackets to the pallets.
Here is what we do next:
- Determine where we want to set up our compost bin. I generally position these in a corner of the property. Especially when using two pallets, a corner is ideal.
- Place the pallets on one of their outer edges and use them to form a box. The box will be as tall as the pallets are wide because each pallet is on its side.
- Alternatively, use two pallets and form a corner (half of the box). I prefer this approach because it leaves the back of this configuration open, which allows me to stage other green waste like tree branches and chunks of wood behind it.
- Use angle brackets, straight brackets, or some alternative fastening method to attach each pallet to each other.
- That is it—the compost bin is complete.
Next, place all green waste from our property and kitchen into this enclosure. This includes grass clippings, leaves, weeds, and all food scraps—if it rots, put it in the compost bin. Some say to be discerning about what type of food we put in our compost, e.g., to avoid adding meat, citrus, or a variety of other specific items. Ignore this advice. If it rots, it makes compost.
We do not need to turn our compost or tend to it in any way. Let it sit and rot. Over time, we will begin to see what appears to be black soil accumulate at the bottom of the bin and pour out of the open slats on the sides. This is compost. Grab a handful and smell it. It should smell earthy and fresh, like the smell of rotting leaves on the forest floor. It should not smell rotten, dead, or gross in any way.
I hesitate to even mention this, since it is not the norm, but compost can attract rats. Hopefully we have snakes nearby to eat those rats. But in some sub/urban settings, this may not be the case. I had a rat infestation once and I used a trap called the Uhlik Repeater. It was effective at catching the rats quickly. I will include a link for this in the Appendix. Alternatively, hire a vendor who can solve this issue without poisoning the site.
When it comes to making compost, there are many options to choose from, in terms of both processes and products. There are countless resources and books available on this topic. I will list some in the Appendix. Here is another challenging option that I especially like.
Vermicomposting: A Challenging, Yet Amazing Compost
For those who are compost nerds like me, or want to become one, let me introduce another incredible composting method called vermicomposting. Essentially this process involves becoming a worm farmer and harvesting worm poop, which we call worm castings. This sounds positively delightful, right?
In fact, worm castings are light, airy, smell amazing, and are chock-full of life. Earthworms are prolific decomposers that can quickly turn a variety of organic materials into high-quality compost. By grinding and aerating organic matter, the worms create ideal conditions for soil microbes to thrive and multiply. In turn, the microbes secrete enzymes that unlock nutrients for plants to use. When it comes to creating high-quality compost in record time, the research proves that vermicomposting is hard to beat.
In short, the worms need a home that is relatively dark and full of oxygen, certain types and quantities of food, and adequate clean water (we will learn more about what constitutes clean water shortly). They must also be kept safe from harsh weather, such as freezing conditions and hot summer temperatures. There are many ways we can achieve these objectives. If we carefully maintain the appropriate conditions and keep the worms healthy, we will be rewarded with incredible worm castings, which we can harvest from their home. Here are resources for making vermicompost:
How to Use Our Compost
Once we have compost, whether we make it or buy it, we can scatter a very light layer around trees and other plants of our choosing. Either leave it where it falls or use a rake to further distribute the compost. We can use a little or a lot—a little always goes a long way and it’s hard to use too much.
In addition, we can steep our compost in water to create a liquid solution that we call compost tea. We can pour or spray this compost tea on the ground around trees and shrubs and in our flower beds. We can even spray it directly on plants to bolster their health. Before I dive into the written instructions for how to make compost tea, here is a how-to video:
To make compost tea we need the following tools and supplies:
- 2–4 cups of compost.
- A 5-gallon bucket or something similar for mixing.
- A mesh tea bag large enough to hold the compost. We can make these or buy them online.
When making compost tea, there are two vital concepts we must keep in mind:
First, the fungi, bacteria, and other life within the compost have a limited time in which they can survive in liquid. Do not leave them in liquid solution for longer than a day. After that, they could die and the compost tea may become harmful to soil and plants. It is worth noting that this compost tea is generally safe for more than eight hours, but without the ability to verify this using a microscope it’s best to observe this time constraint.
Second, we must be careful about what water we use. If we use tap water that has been cleaned by our local municipality, it generally contains chlorine, which can kill the life in the compost tea. Here are alternatives and methods for cleaning chlorine from the tap water:
- Untreated water collected from the rain (e.g., water captured in rain barrels or via a cistern system).
- Untreated well water.
- Municipal water treated with ascorbic acid, which is Vitamin C. This is also used to treat fish aquariums. It is often labeled as “dechlorination tablets.”
- On this same note, there are other products used to treat water in aquariums that are generally labeled as “water conditioners.” So long as they keep fish safe, they will keep the life in compost safe.
- Finally, if none of these are options, leave the water sitting in the 5-gallon container with an open top for a minimum of 24 hours and most of the chlorine will evaporate.
Some municipal water systems use a product called chloramine to treat water, which is a combination of chlorine and ammonia. Unfortunately, the methods for removing chloramine are more limited. The easiest option is to buy three-in-one chlorine, chloramines, and ammonia treatment tap water conditioner.
Now it’s time to make five gallons of compost tea. We can easily scale these ratios up and down to meet our needs.
- Fill a 5-gallon bucket with clean water.
- Scoop 2–4 cups of our favorite compost and place it inside of the mesh tea bag.
- Seal the bag and drop it into the water. Let it soak for 5–10 minutes.
- Then massage the bag within the water for 5–10 minutes. More massaging time will help release more microbial life into the solution.
- Remove the compost bag from the bucket.
Presto! We have living compost tea! We can pour it where we please or place it within a pump sprayer for easy application on soil, plants, beds, seeds, and most anywhere in the sub/urban landscape. Do note that if we have no intention of spraying the compost tea, we can dump the compost in the bucket of water without a mesh bag, let it soak for 20–30 minutes, then pour the mixed solution where we please.
Leaves, arborist wood chips, and compost form the easy trifecta for generating soil bursting with outrageous diversity. Trees and other plants flourish in healthy soil. More soil also boosts the land’s ability to retain water, carbon, and support life.
To reiterate an earlier point, the two best ways to maximize tree longevity, aside from doing no harm, are through structural pruning (makes trees strong) and promoting soil bursting with life (makes trees healthier).
We hope you enjoyed this chapter!
Get your free copy of From Wasteland to Wonder
to continue reading this book.

